How to Waterproof Sneakers: Sprays, Wax and Materials
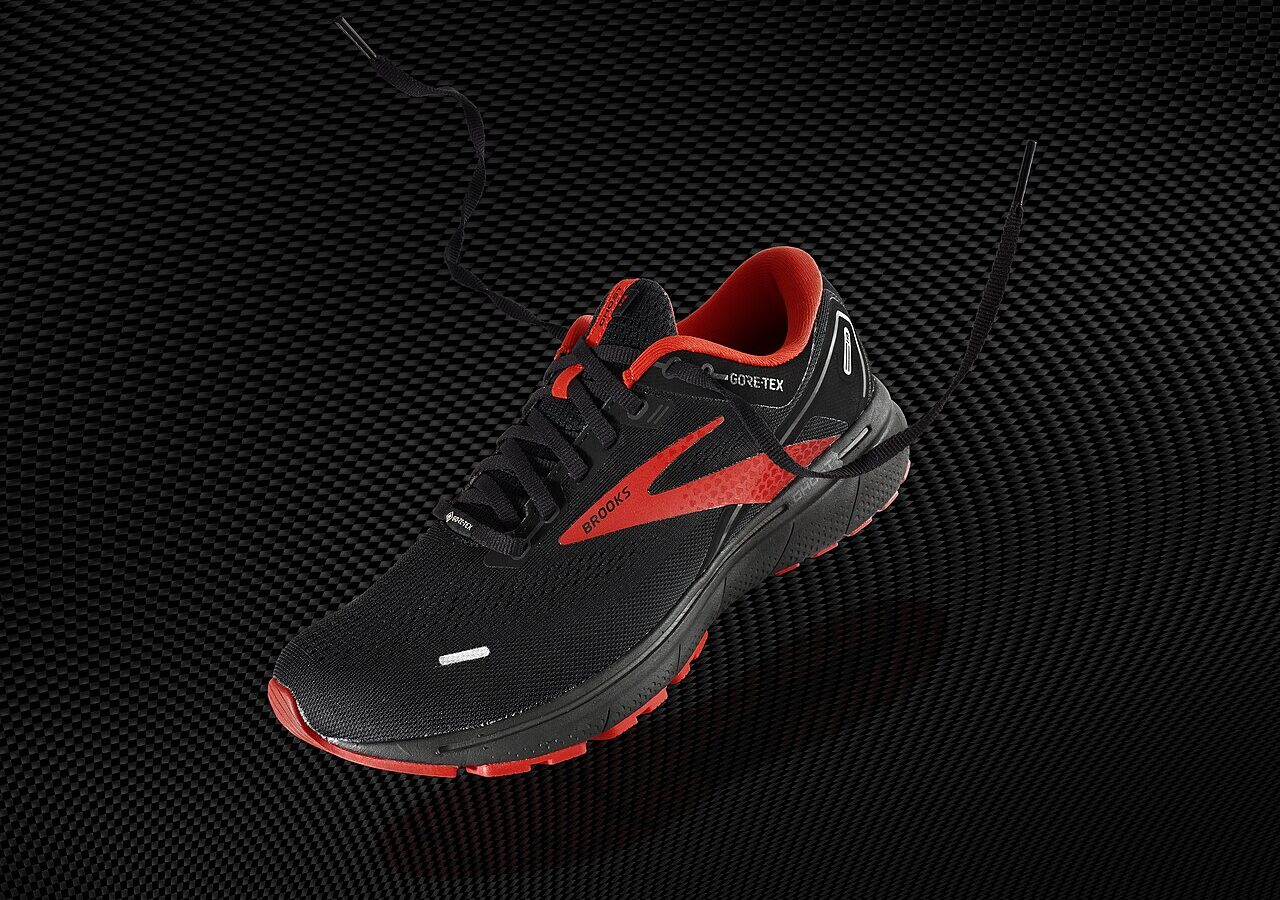
To waterproof sneakers, clean and fully dry them first, then apply a hydrophobic protector matched to the material: a silicone or fluoropolymer-based nano spray for knit, mesh, and canvas, or a beeswax-based treatment for smooth leather. Apply two or three thin, even coats, let each one cure, and reapply every few weeks or after heavy exposure. Keep in mind that any waterproofing layer reduces breathability, so you are trading some airflow for water resistance.
Wet feet ruin an otherwise great pair of sneakers, and untreated knit, suede, and canvas soak up water almost instantly. The fix is a category of products called durable water repellents (DWR) that coat each fiber in an invisible hydrophobic layer, so water beads up and rolls off instead of soaking in. It is one of the cheapest, highest-impact things you can do to extend the life of your shoes. This guide walks through choosing the right product for your material and applying it so it actually lasts.
Water-Resistant vs. Waterproof: Set Expectations First
It helps to be honest about what a home treatment can and cannot do. A DWR spray or wax makes a sneaker highly water-resistant — it will shrug off rain, puddles, and spills and dry far faster. It does not make an everyday sneaker fully waterproof like a rubber boot or a Gore-Tex hiking shoe with sealed, taped seams. Water can still enter through the collar, the tongue gap, and unsealed stitching if you stand in a deep puddle. The goal is to keep normal wet-weather exposure from soaking through, and for that these methods work extremely well.
Match the Treatment to the Material
The single most important decision is choosing a product designed for your upper. Using the wrong one can darken suede or leave a residue on leather.
| Material | Best treatment | Notes |
|---|---|---|
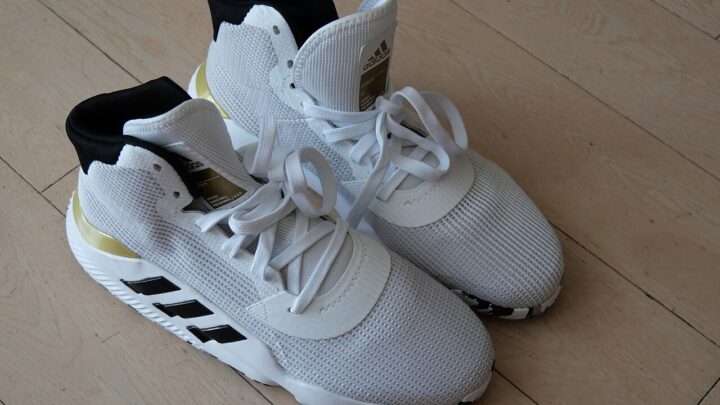
| Knit / mesh (Nike Flyknit, adidas Primeknit) | Silicone or fluoropolymer nano spray | Sprays preserve flexibility and breathability best |
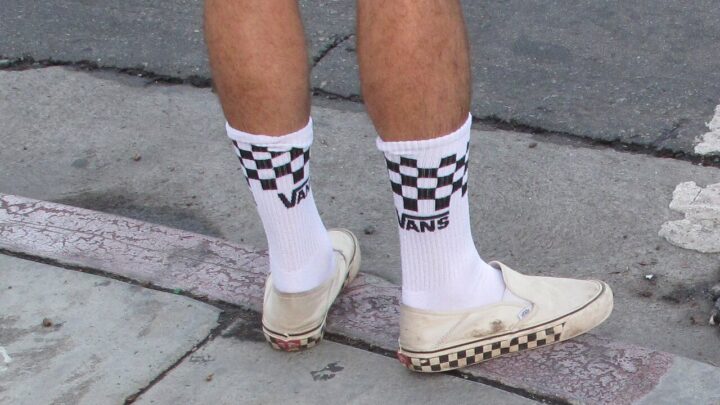
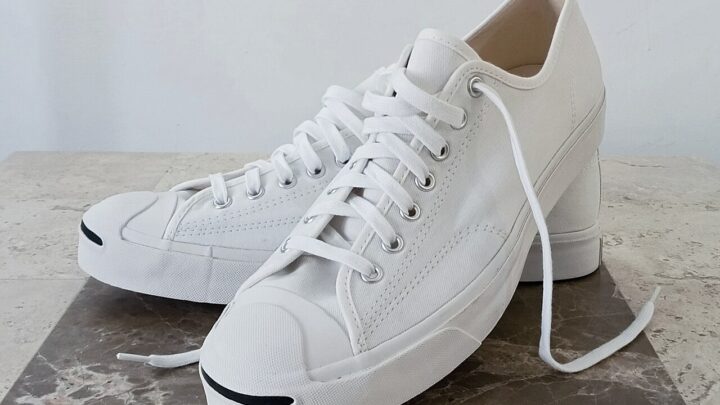
| Canvas (Converse, Vans) | Nano spray or spray-on wax | Multiple light coats; canvas is very absorbent |
| Suede / nubuck | Suede-specific waterproofing spray | Never use wax or oil; it flattens the nap |
| Smooth leather | Beeswax cream or leather protector | Wax adds the most durable barrier; condition first |
| Full-grain / boot leather | Beeswax or dubbin | May darken the leather; test on a hidden area |
Step-by-Step: How to Waterproof Sneakers
The process is quick, but the results depend almost entirely on doing it on a clean, dry shoe. A protector applied over dirt seals that dirt in and bonds poorly.
What You Will Need
- A soft brush and a clean, lint-free cloth
- Mild cleaner appropriate for the material (or a dedicated suede eraser)
- Your chosen waterproofing product — nano spray, Scotchgard-type fabric protector, or beeswax cream
- Newspaper or a drop cloth and a well-ventilated space
- Painter’s tape (optional) to protect midsoles and rubber toe caps
- Clean thoroughly. Brush off dirt and spot-clean the upper. Any grime left on the surface will block the coating from bonding to the fibers.
- Dry completely. Let the shoes air-dry for several hours or overnight. Applying spray to a damp upper traps moisture underneath the new layer.
- Prep the area. Work outdoors or in a ventilated room. Solvent-based sprays should never be used in a closed space. Mask off midsoles if you want to keep them clean.
- Apply the first thin coat. Hold a spray about six inches away and mist evenly until the surface looks lightly damp, or rub a thin layer of wax in with a cloth. Thin and even always beats one heavy pass.
- Let it cure, then recoat. Allow the first coat to dry per the product instructions (often 20–30 minutes), then apply a second and, for canvas, a third light coat.
- Cure fully before wearing. Leave the shoes 24 hours so the repellent bonds. For wax on leather, a quick, gentle warm-up with a hair dryer on low can help it absorb.
- Test the beading. Flick a few drops of water on the toe. If it beads and rolls off, you are protected; if it soaks in, add another coat.
Types of Waterproofing Sprays and Treatments
Understanding the chemistry helps you pick a product and set expectations for how long it lasts.
- Silicone-based sprays — affordable and strongly water-repellent, but they can slightly reduce breathability and are best on synthetics and canvas rather than premium leather.
- Fluoropolymer (PFC) nano sprays — the most breathable, invisible option, repelling both water and oil. Many brands now offer PFC-free formulas for environmental reasons.
- Beeswax and wax creams — the most durable barrier for smooth and full-grain leather; they can darken the material, so always test first.
- Fabric protectors (Scotchgard-type) — convenient all-round sprays for fabric and canvas; expect to reapply more often than a dedicated nano treatment.
- Suede protectors — formulated to guard the nap without matting it down; the only category you should use on suede or nubuck.
Seam Sealing and Extra Protection
The upper is only part of the story. Water most often sneaks in through stitching and the tongue. For shoes you plan to wear in genuinely wet conditions, run a seam sealer along the stitched welt and the join between the upper and the midsole. A tongue gusset or simply lacing tightly reduces the opening at the top. If your sneakers have a mesh toe box, an extra coat there is worthwhile, since that panel sees the most splash.
The Breathability Trade-off
Every waterproofing layer partially closes the microscopic gaps that let heat and sweat escape, so a treated shoe runs a little warmer and can feel less airy. Modern PFC-free nano sprays minimize this because they coat individual fibers rather than filling the weave, but the trade-off never disappears entirely. If you value maximum airflow for hot-weather running, apply a lighter single coat and accept slightly less protection; for winter commuting, prioritize a fuller barrier. Pairing any treatment with moisture-wicking socks keeps feet comfortable either way.
Maintenance and Reapplication
Waterproofing is not permanent. Friction, dirt, and washing wear the coating down over time. As a rule, reapply a spray every three to four weeks of regular wear, or whenever water stops beading on the surface. Wax on leather lasts longer but should be refreshed every couple of months. Always clean the shoe before recoating, and store treated sneakers away from direct heat. For product picks and material-specific routines, see our sneaker care guides or browse protectors in the shop.
Frequently Asked Questions
Can you waterproof any type of sneaker?
Almost any upper can be made water-resistant with the right product — nano sprays for knit, mesh, and canvas, suede sprays for suede, and wax for leather. The exception is the shoe’s construction: open collars and unsealed seams still let water in, so no home treatment turns a low-top sneaker into a fully waterproof boot.
How long does waterproofing spray last on sneakers?
Expect roughly three to four weeks of regular wear from a spray before it needs refreshing, and longer from a wax treatment on leather. The clearest signal is the water itself — when droplets stop beading and start soaking in, it is time to clean and reapply.
Does waterproofing spray ruin knit or breathable sneakers?
A good PFC-free nano spray coats each fiber individually, so it preserves most of the breathability and flexibility of knit and mesh. Heavier silicone sprays reduce airflow more, so for breathable running shoes choose a nano formula and apply thin coats.
Can I use beeswax on suede sneakers?
No. Wax and oil-based products flatten and darken suede’s soft nap and are very hard to reverse. Use only a spray specifically labeled for suede or nubuck, and refresh the nap afterward with a suede brush.
Should I waterproof new sneakers before wearing them?
Yes, treating a clean, unworn pair is ideal because the surface is spotless and the coating bonds evenly. It also protects against that first unexpected stain or rainstorm. Just let any factory finish air out for a day and apply the treatment before the first wear.
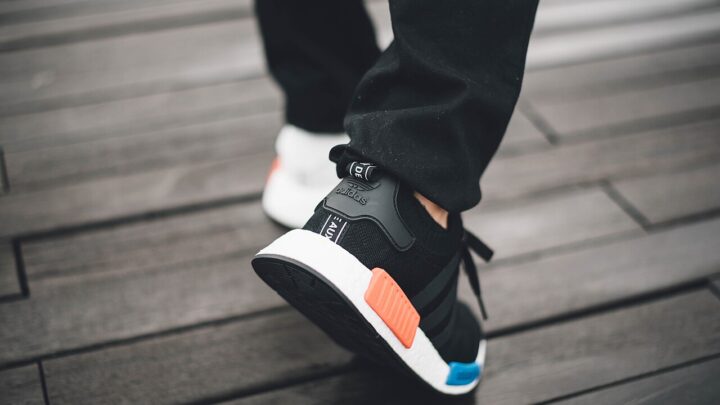
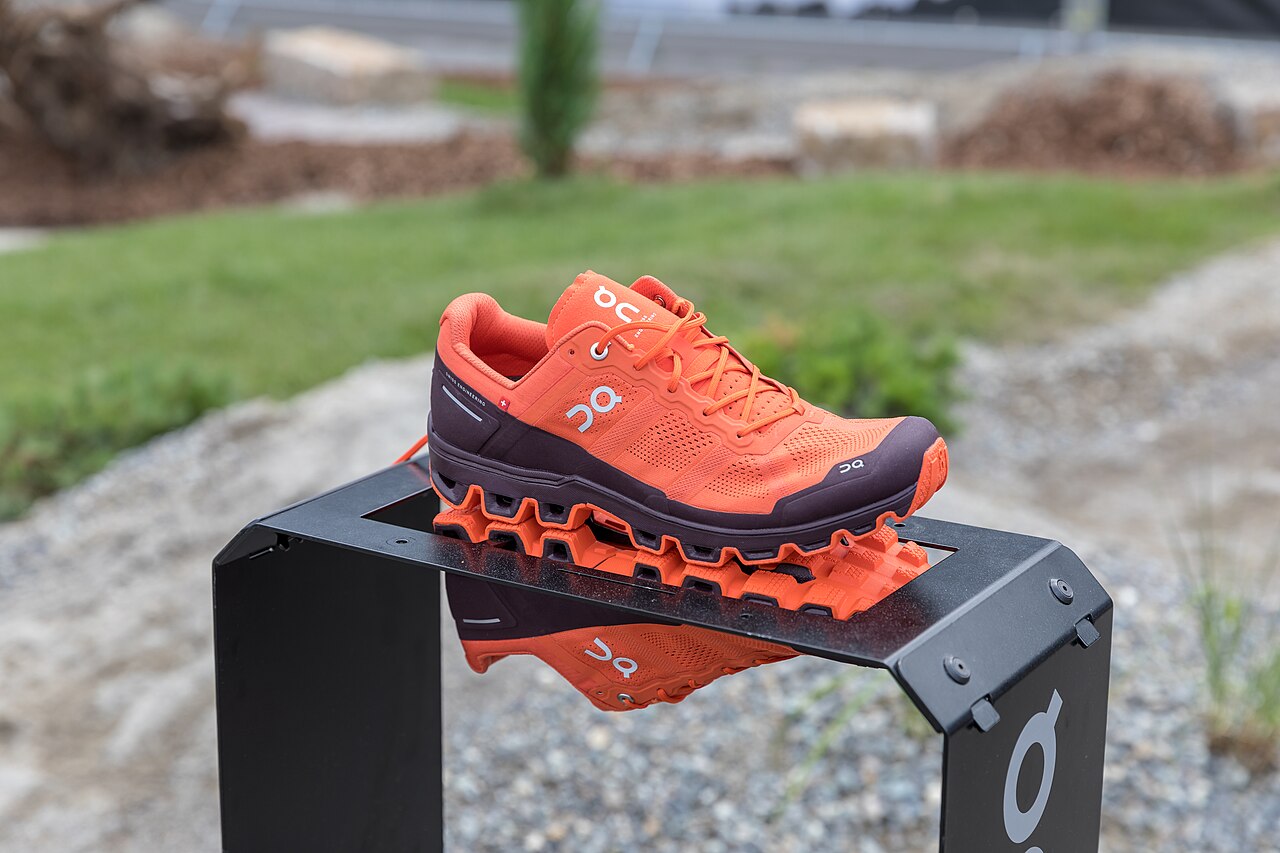
Featured image — Petar Milošević / CC BY-SA 4.0, via Wikimedia Commons

Similar Posts